Claude Code × Figma:
the designer's setup guide
Install Claude Code, connect it to your Figma canvas, and build your first working screen from a design — in about 20 minutes. No engineering background needed.
This is Module 1 of the masterclass, in writing. Prefer watching it done? Six short lessons on a real screen.
Grab it for free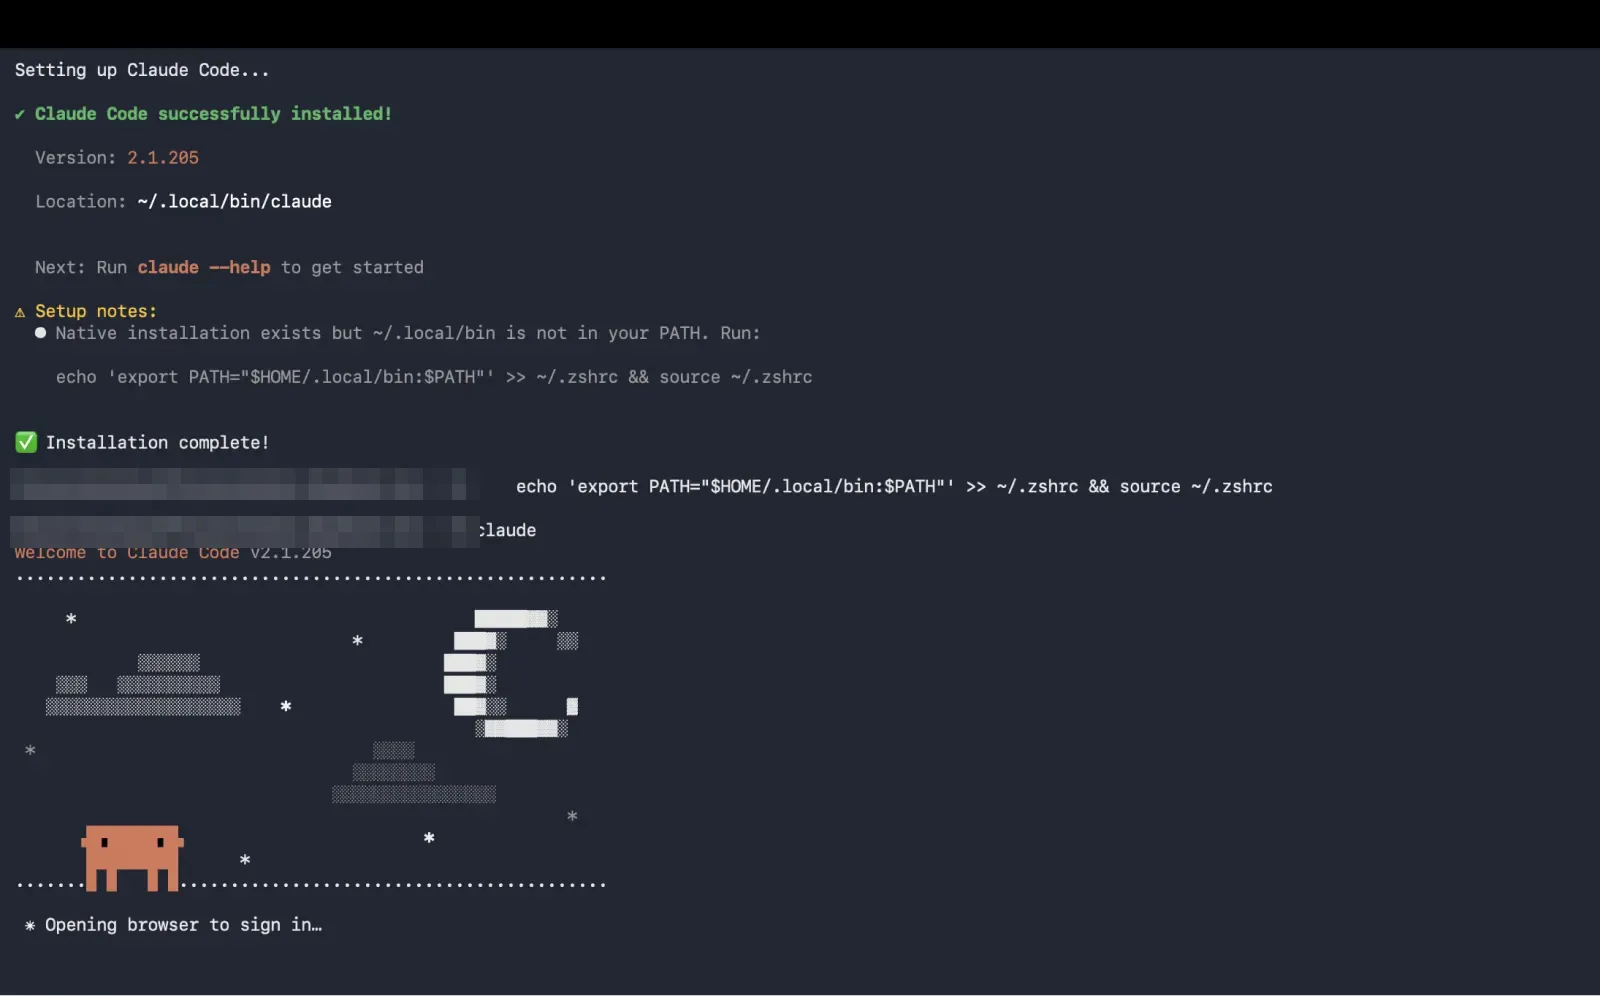 ▶
6 LESSONS · ~20 MIN
▶
6 LESSONS · ~20 MIN
Intro to Claude
~3 minPick a plan, download the desktop app, know the three modes. That's the whole step.
a.Pick a plan
Free works to try things; Pro or Max is what this workflow really runs on. Compare plans →
b.Download Claude Desktop
c.Know the three modes
- Chat — conversations, research, everyday assistance
- Cowork — a workspace that can use your local files
- Code — the terminal environment. This guide lives here.
Install Claude Code
~5 minOne command installs it. Pick your platform:
a.Install
Open Terminal and run:
curl -fsSL https://claude.ai/install.sh | bash
b.Launch
Open a new Terminal window:
claude
c.If Terminal says "command not found"
echo 'export PATH="$HOME/.local/bin:$PATH"' >> ~/.zshrc
source ~/.zshrc
Then verify:
claude --version
a.Check curl
Open PowerShell or Command Prompt:
curl --version
b.Install
curl -fsSL https://claude.ai/install.cmd -o install.cmd && install.cmd && del install.cmd
Or:
winget install Anthropic.ClaudeCode
c.Launch
claude
d.Sign in
First launch: pick a theme → pick a login method → browser opens → authorize. Use your Claude subscription (simplest) or an API key.
See the 4 sign-in screens ▾
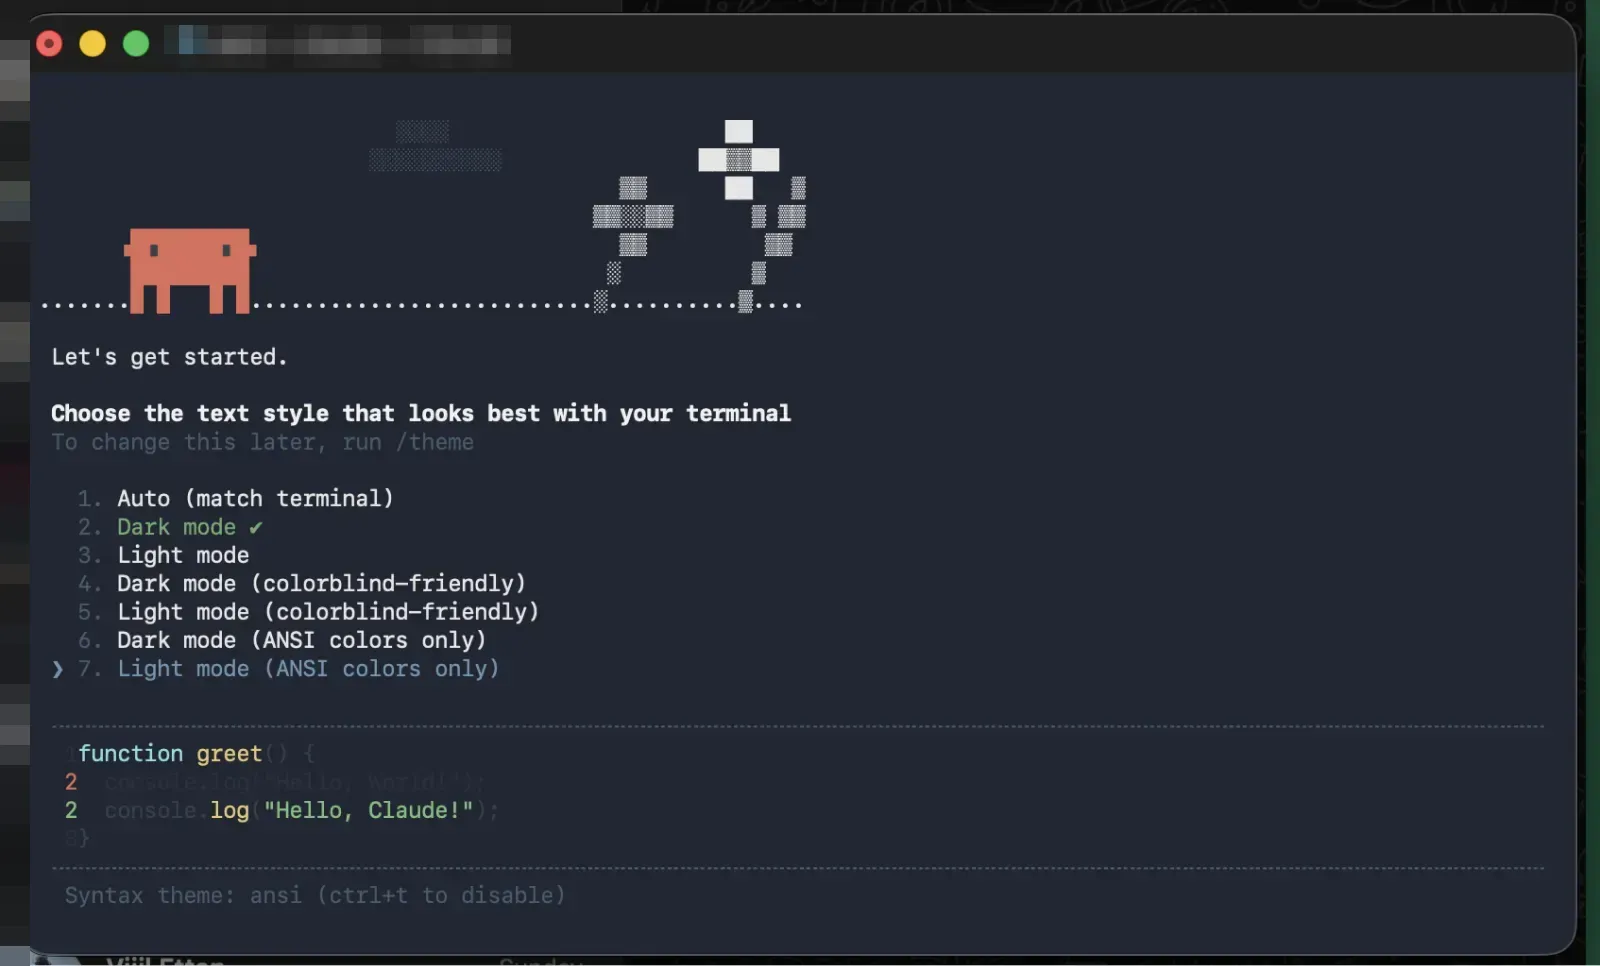
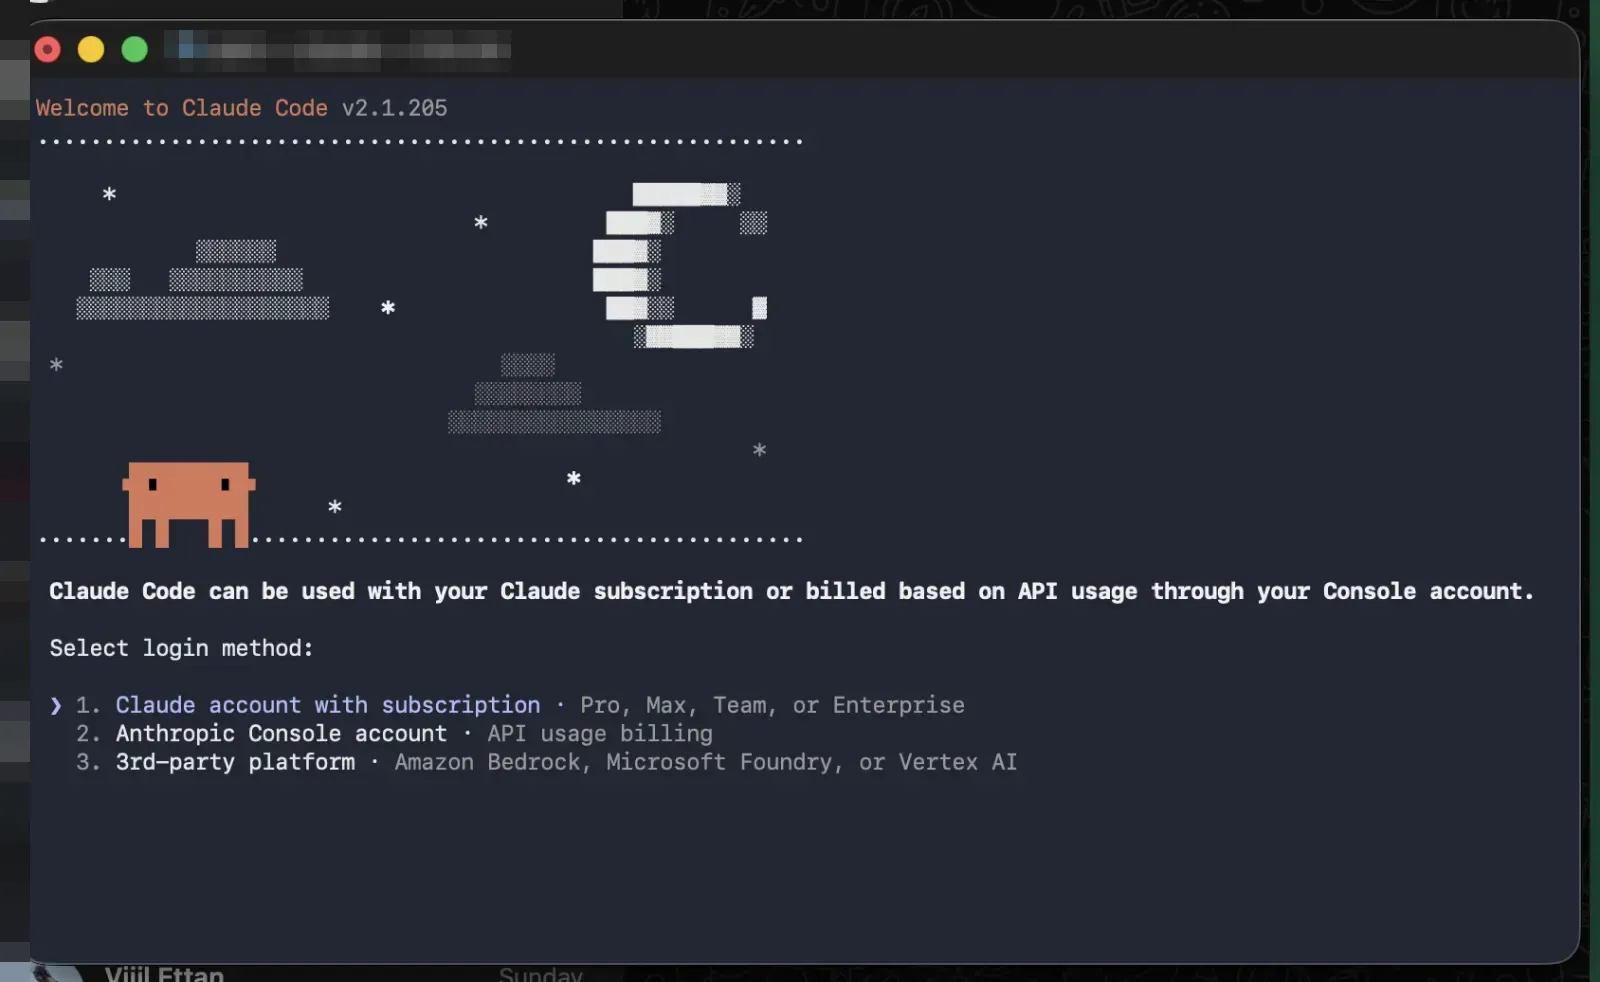
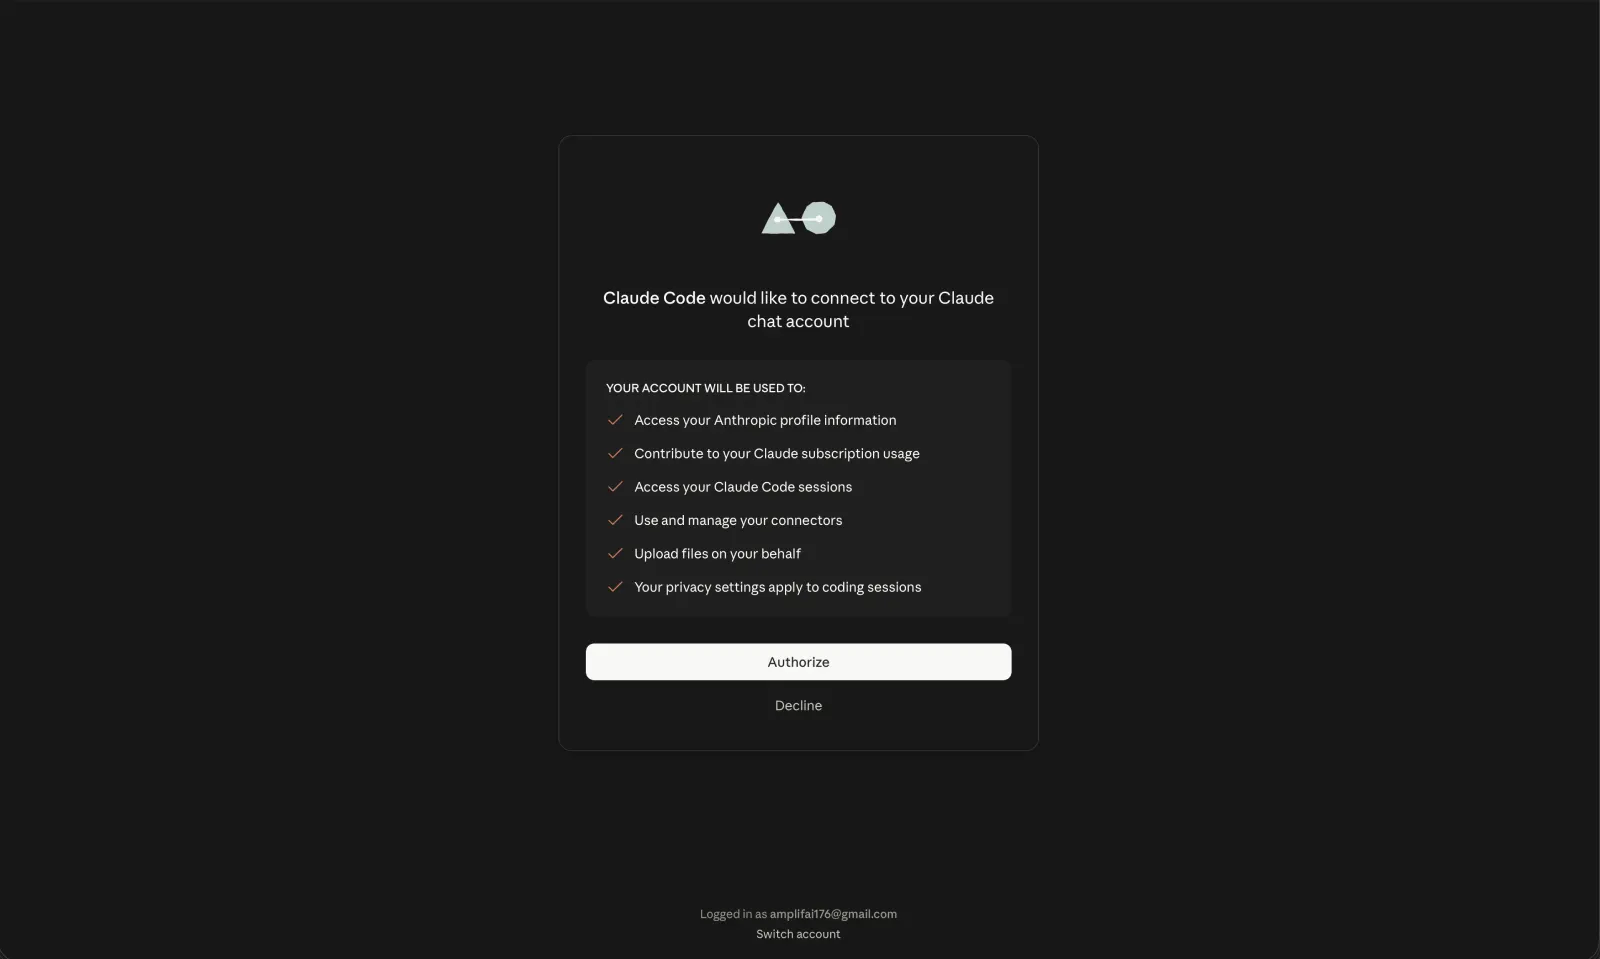
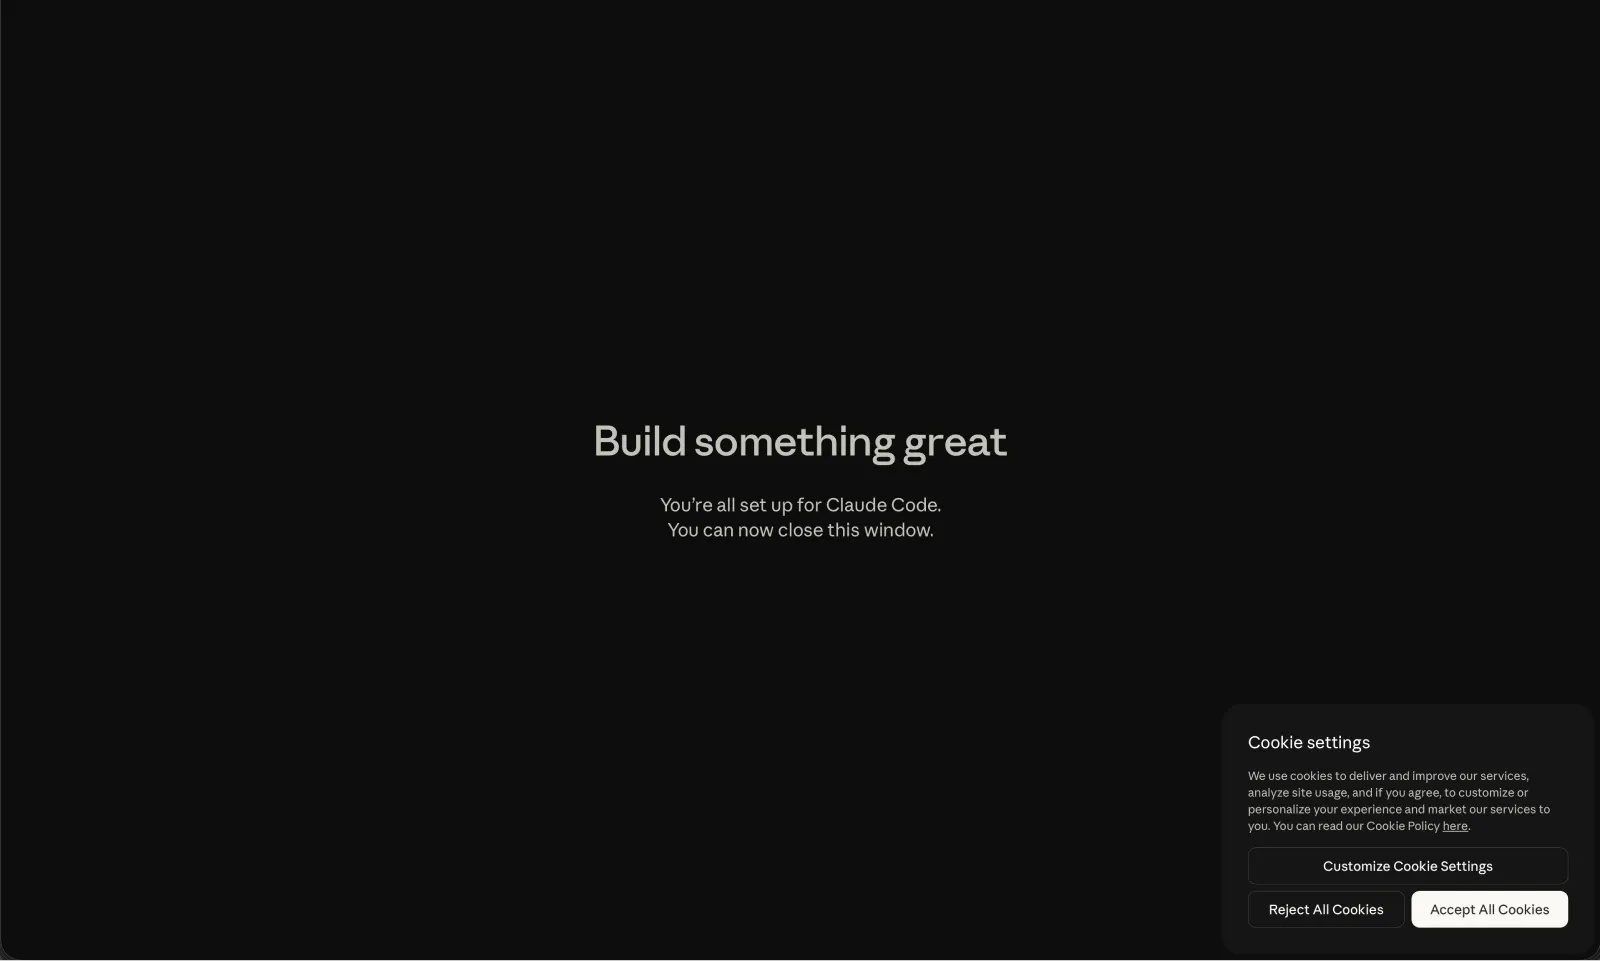
claude --version prints a version number.Node.js via NVM
~4 minClaude Code uses Node.js and npx to run tools. NVM makes versions painless.
a.Install NVM
curl -o- https://raw.githubusercontent.com/nvm-sh/nvm/v0.40.2/install.sh | bash
Then close and reopen your terminal.
b.Install Node.js (LTS)
nvm install --lts
Installs Node.js + npm + npx in one go.
See the install output ▾
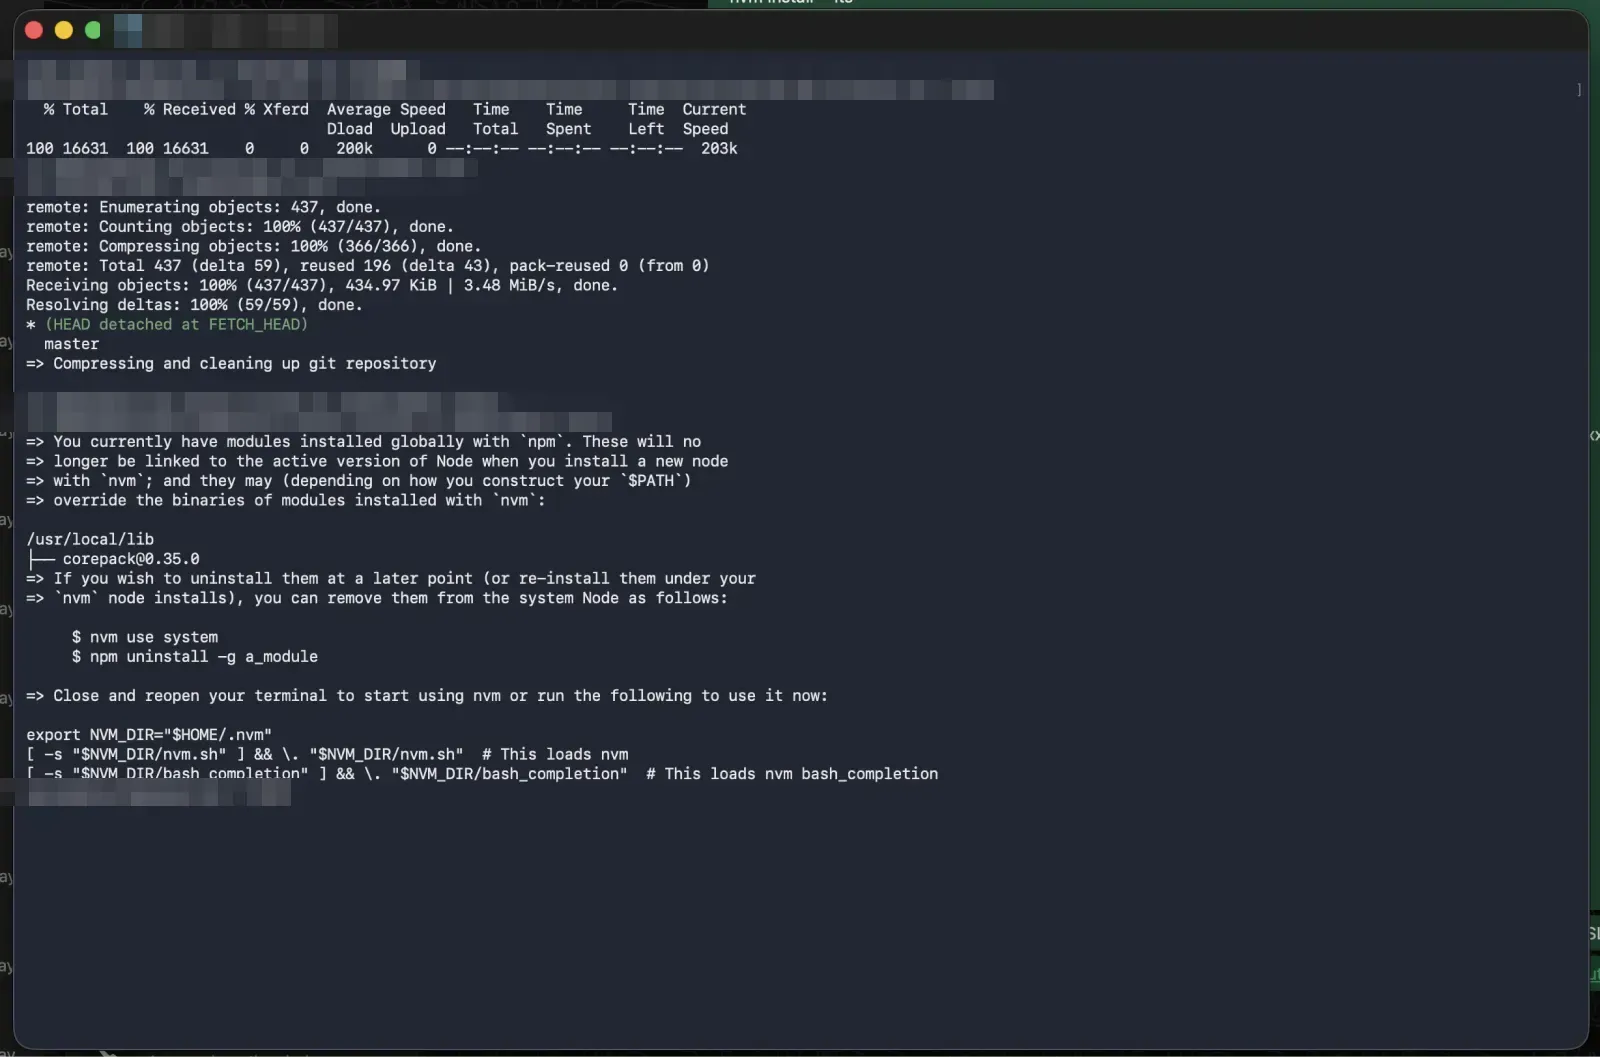
node --version and npx --version both answer.Connect Figma (MCP)
~6 minNow the part you came for. Two MCP servers + one plugin, and Claude works inside Figma like another designer.
a.Add the official Figma MCP server
claude mcp add figma -s user --transport http https://mcp.figma.com/mcp
First run opens the browser to authorize Figma. Restart Claude Code after.
b.Create a Figma personal access token
Figma → Settings → Security → Personal Access Tokens → Generate new token
Permissions: Variables → Read · File Content → Read · Comments → Read & Write. Copy the token (starts with figd_), keep it secure.
c.Add the Figma Console MCP server
Replace <YOUR_FIGMA_TOKEN> with your token:
claude mcp add-json figma-console \
'{"command":"npx","args":["-y","figma-console-mcp@latest"],"env":{"FIGMA_ACCESS_TOKEN":"<YOUR_FIGMA_TOKEN>","ENABLE_MCP_APPS":"true"}}' \
-s user
Restart Claude Code again.
d.Install the Figma Desktop Bridge plugin
- Open the Figma desktop app (not the browser)
Plugins → Development → Import plugin from manifest- Select
~/.figma-console-mcp/plugin/manifest.json - Launch from
Plugins → Development → Figma Desktop Bridge
One-time setup — the plugin updates itself with the MCP server.
claude mcp list shows both figma and figma-console connected.Test the connection
~2 min- Open any Figma file
- Launch Claude Code, confirm the Desktop Bridge plugin is connected
- Paste a Figma link into Claude Code with a prompt:
Create me a revenue line chart widget with gradient fill.
Or ask it to read your selection, inspect variables, create a component, update a design, generate responsive layouts.
Two prompts you'll see on first run ▾
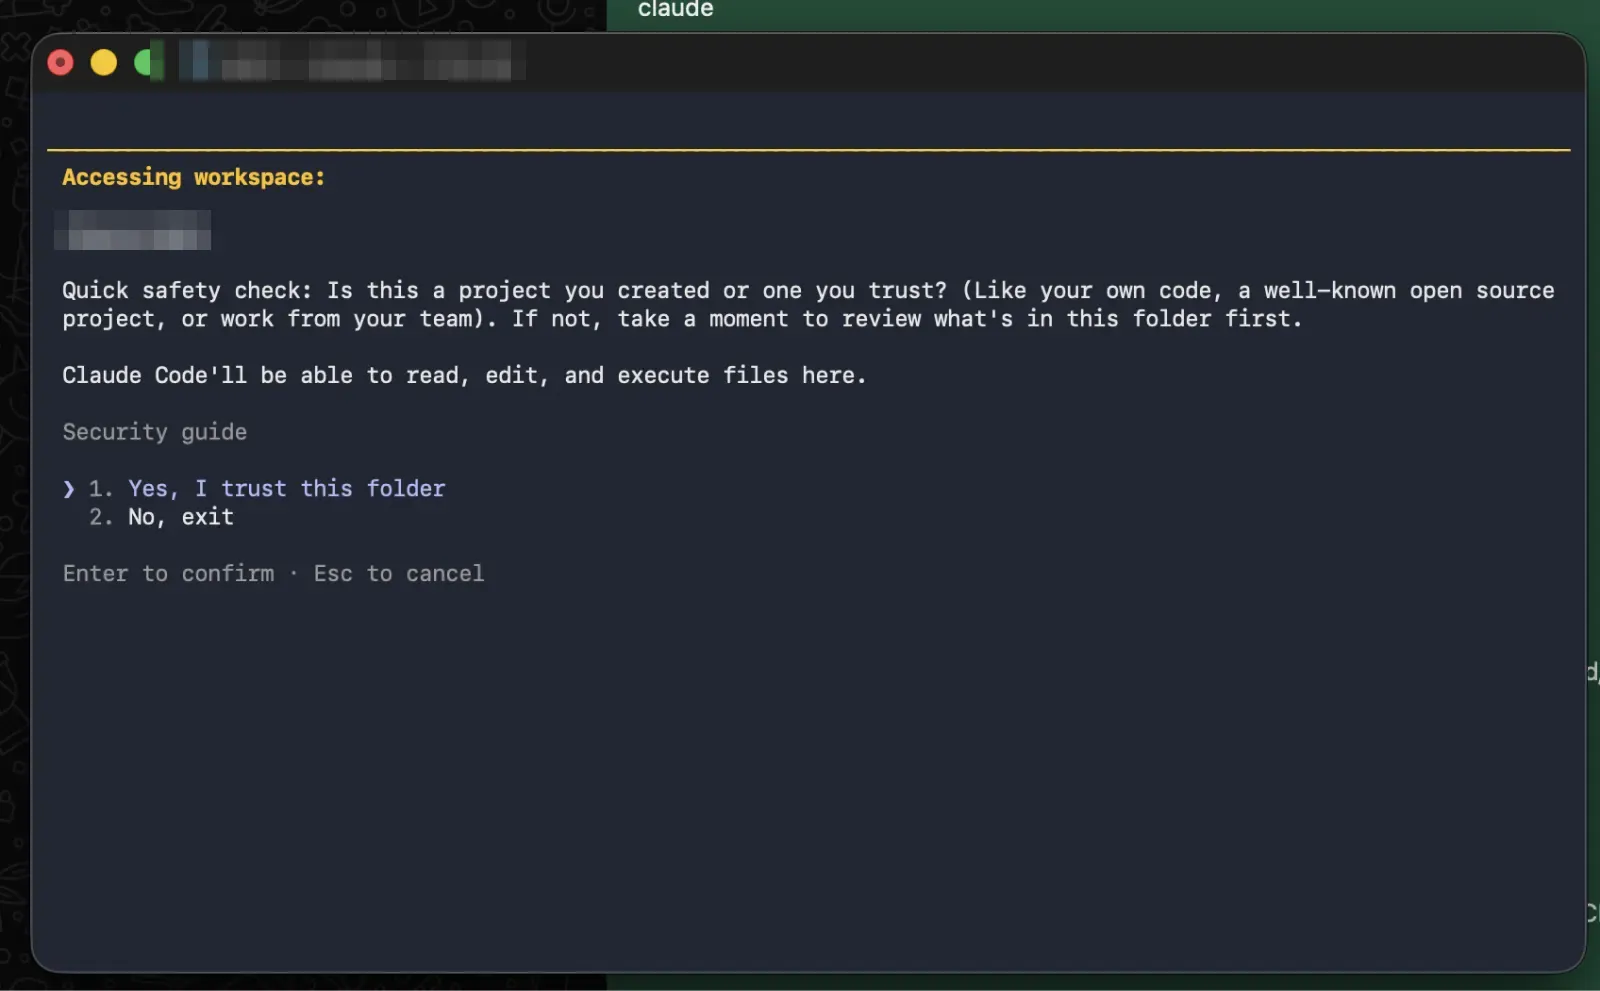
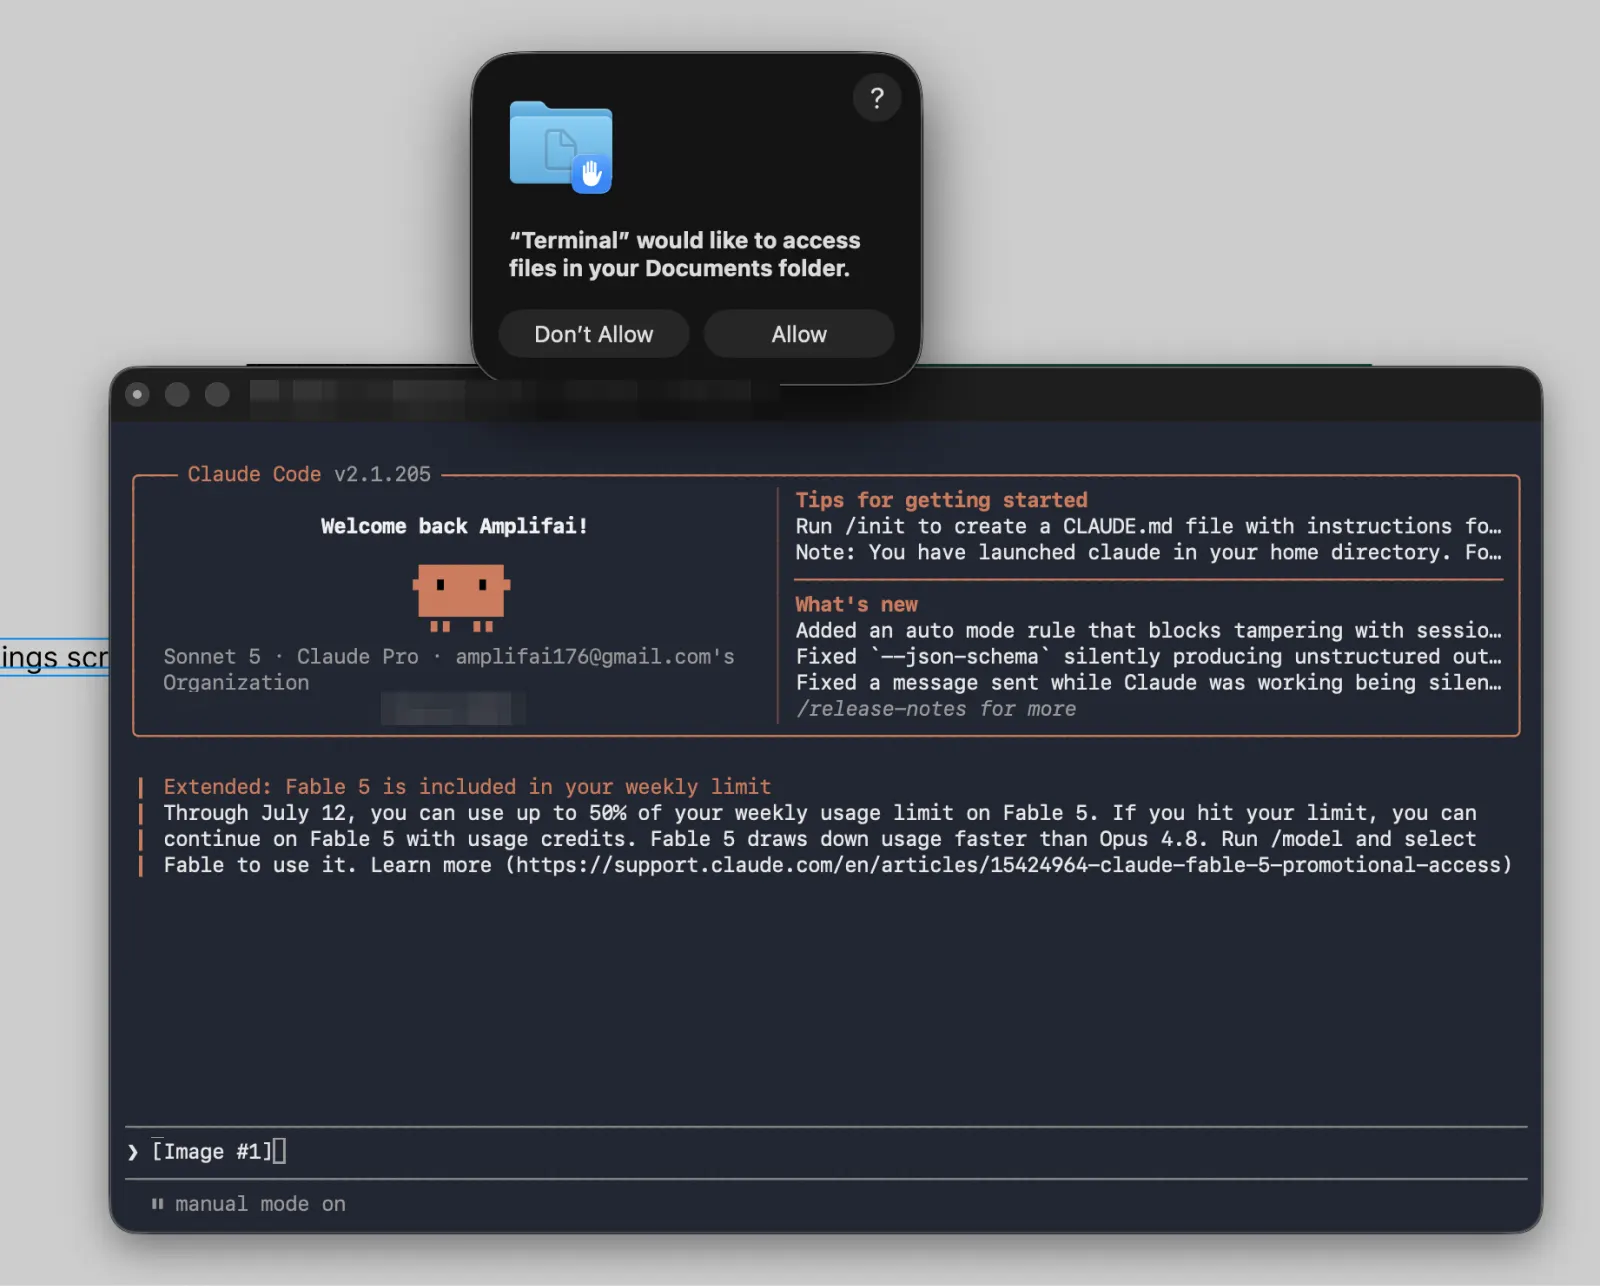
Your design, live on localhost
~2 minClaude writes the code — your design runs in the browser. Same checklist, new prompt:
Build this Figma as a working local demo with interactive
hover tooltip (month + value). Single HTML file, opened
in my local server when ready.
Grant permissions when asked; it opens on your localhost.
You just went from zero to a working screen without writing a single line of code.
Common questions
Can Claude Code connect to Figma?
Yes — through MCP, using the official Figma server and the Figma Console server with its Desktop Bridge plugin. Connected, Claude reads designs, inspects variables, creates components and edits files on the canvas.
Do I need to know how to code?
No. Setup is copy-paste commands; after that it's plain-English prompts.
Mac and Windows?
Both. Figma must be the desktop app, not the browser.
Is Claude Code free?
Included with Claude subscriptions — Pro or Max recommended for this workflow. API-key billing works too.
What can Claude actually do in Figma?
Read selections, inspect variables and tokens, create components and frames, update designs, generate responsive layouts, and build working HTML versions of your designs on localhost.
Can Claude Code design UI?
It can generate and edit UI, but it designs best with direction. Given a design system — components, tokens, text styles — Claude Code produces layouts that match your rules. Handed a blank canvas and no constraints, output is generic. The skill worth learning is supplying that context, which is what the setup below sets up.
Can Claude convert Figma to code?
Yes. With the MCP connection in place, Claude reads a frame directly from your Figma file — layout, variables, text styles — and writes working HTML or React from it, rather than guessing from a screenshot. Accuracy tracks how well your file is built: bound tokens and real components convert far more faithfully than hand-drawn frames.
Which MCP servers do you need for Figma to code?
Two, and they do different jobs. Figma's official MCP server reads designs and extracts code context. The Figma Console MCP server, paired with its Desktop Bridge plugin, writes back to the canvas — creating and editing nodes. Reading only needs the first; a full design-to-code loop wants both.
Does this work with Cursor instead of Claude Code?
The Figma MCP servers are editor-agnostic, so Cursor and other MCP-capable clients can connect to the same servers. This guide covers the Claude Code path specifically — the install commands and config file locations differ per client.
The AMPLIFAI Masterclass
The setup is the door. The course is what's behind it.
Four modules, 2.5 hours total — built to be finished, not collected:
Full course: $399 · $299 until Sep 13